Building a Triangular Pergola (And Why Eucalyptus Hates Me)
You know what nobody ever says? "Hey, you know what’s too easy? Building a square."
Four corners. Ninety-degree angles. You go to the hardware store, you buy the brackets off the shelf like a normal human being, you screw ’em together, and by Sunday afternoon you’re drinking a cold one in the shade.
Did I do that? No. Of course I didn’t. I looked at my backyard and thought, "You know what this needs? A triangle." Because apparently I hate myself and I want to spend my weekends doing high school geometry while covered in sawdust and sweat.
Here is Part 1 of my slow descent into madness, taking this thing from raw trees in the dirt to something that actually resembles a foundation.
Step 1: Stripping Eucalyptus Bark (A Form of Medieval Torture)
First off, for the vertical posts, I decided to use eucalyptus. Look at it—it’s strong, it’s rustic, it’s got character. What nobody tells you when you’re staring at a freshly cut eucalyptus log is that the bark doesn't just "peel off." No, it clings to that tree like it owes it money.
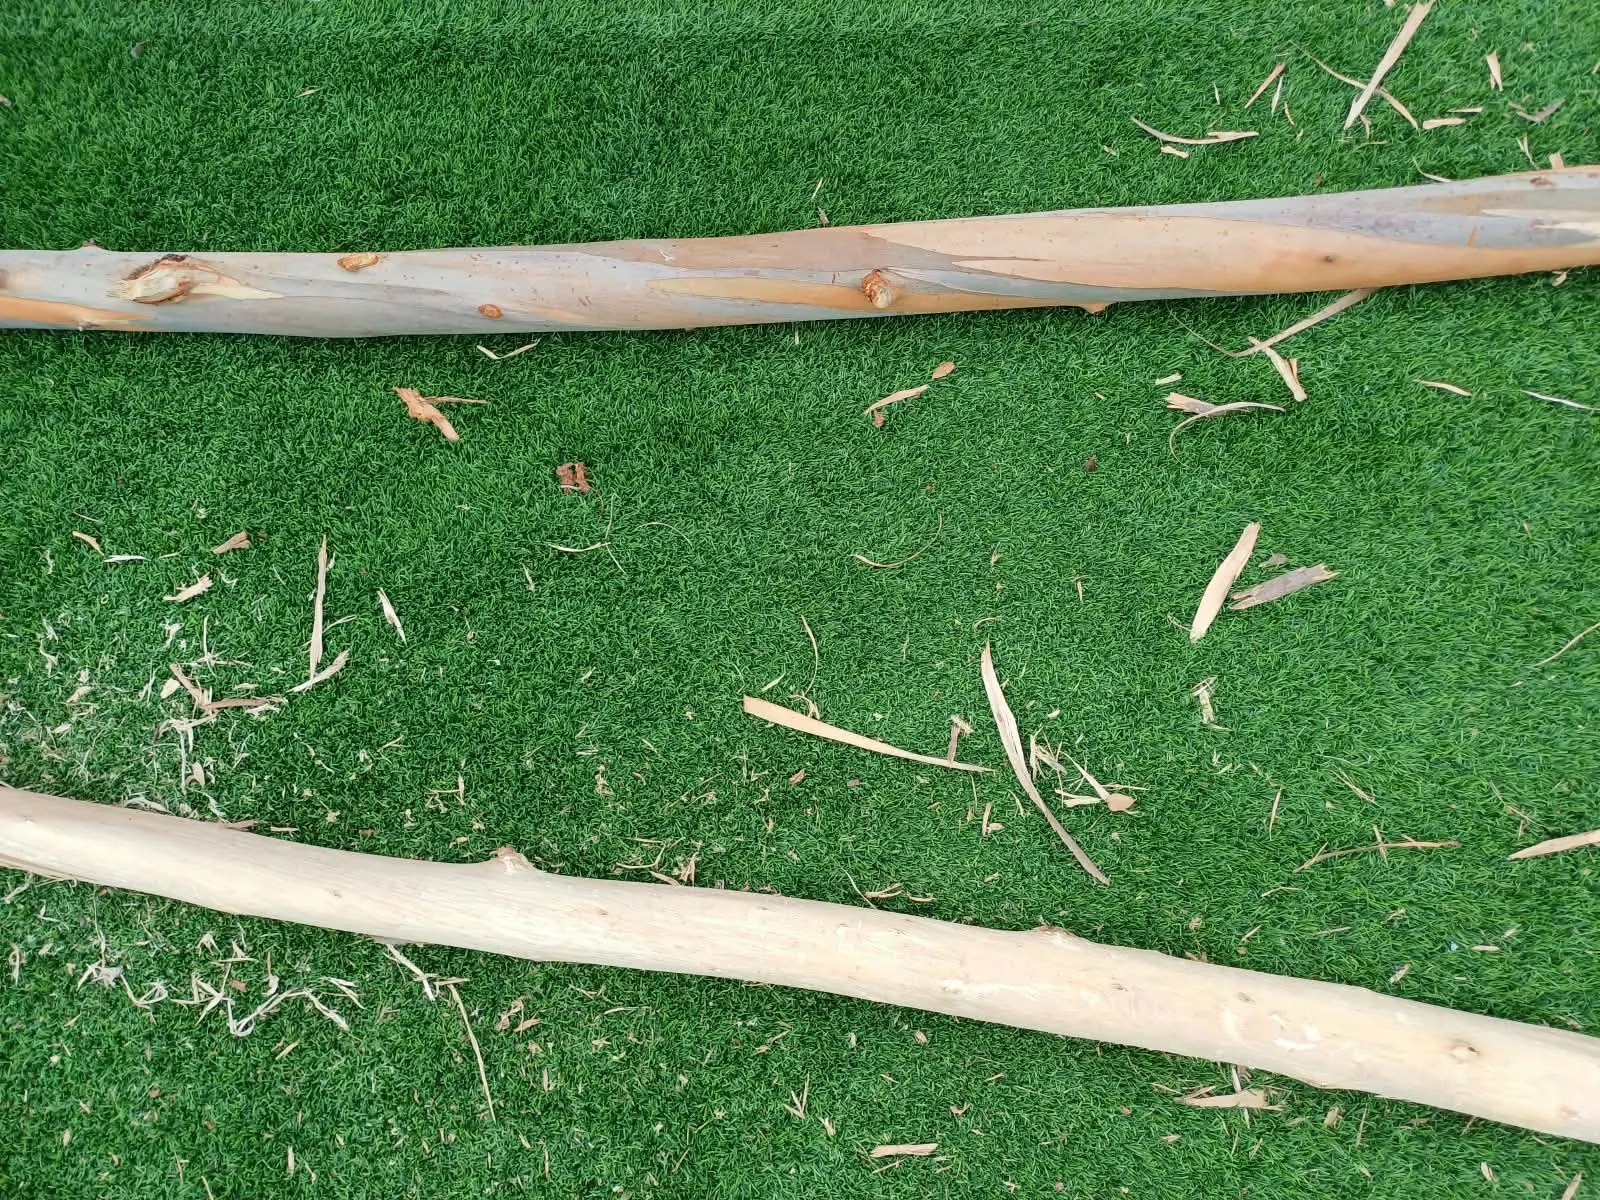
You try to scrape one strip, and it shreds into a million tiny strings. You switch tools, you sweat through two shirts, your forearms are screaming, and you look down and realize you’ve cleared six inches. By the time I got those logs down to the bare wood, I felt like I’d gone twelve rounds with a heavyweight.
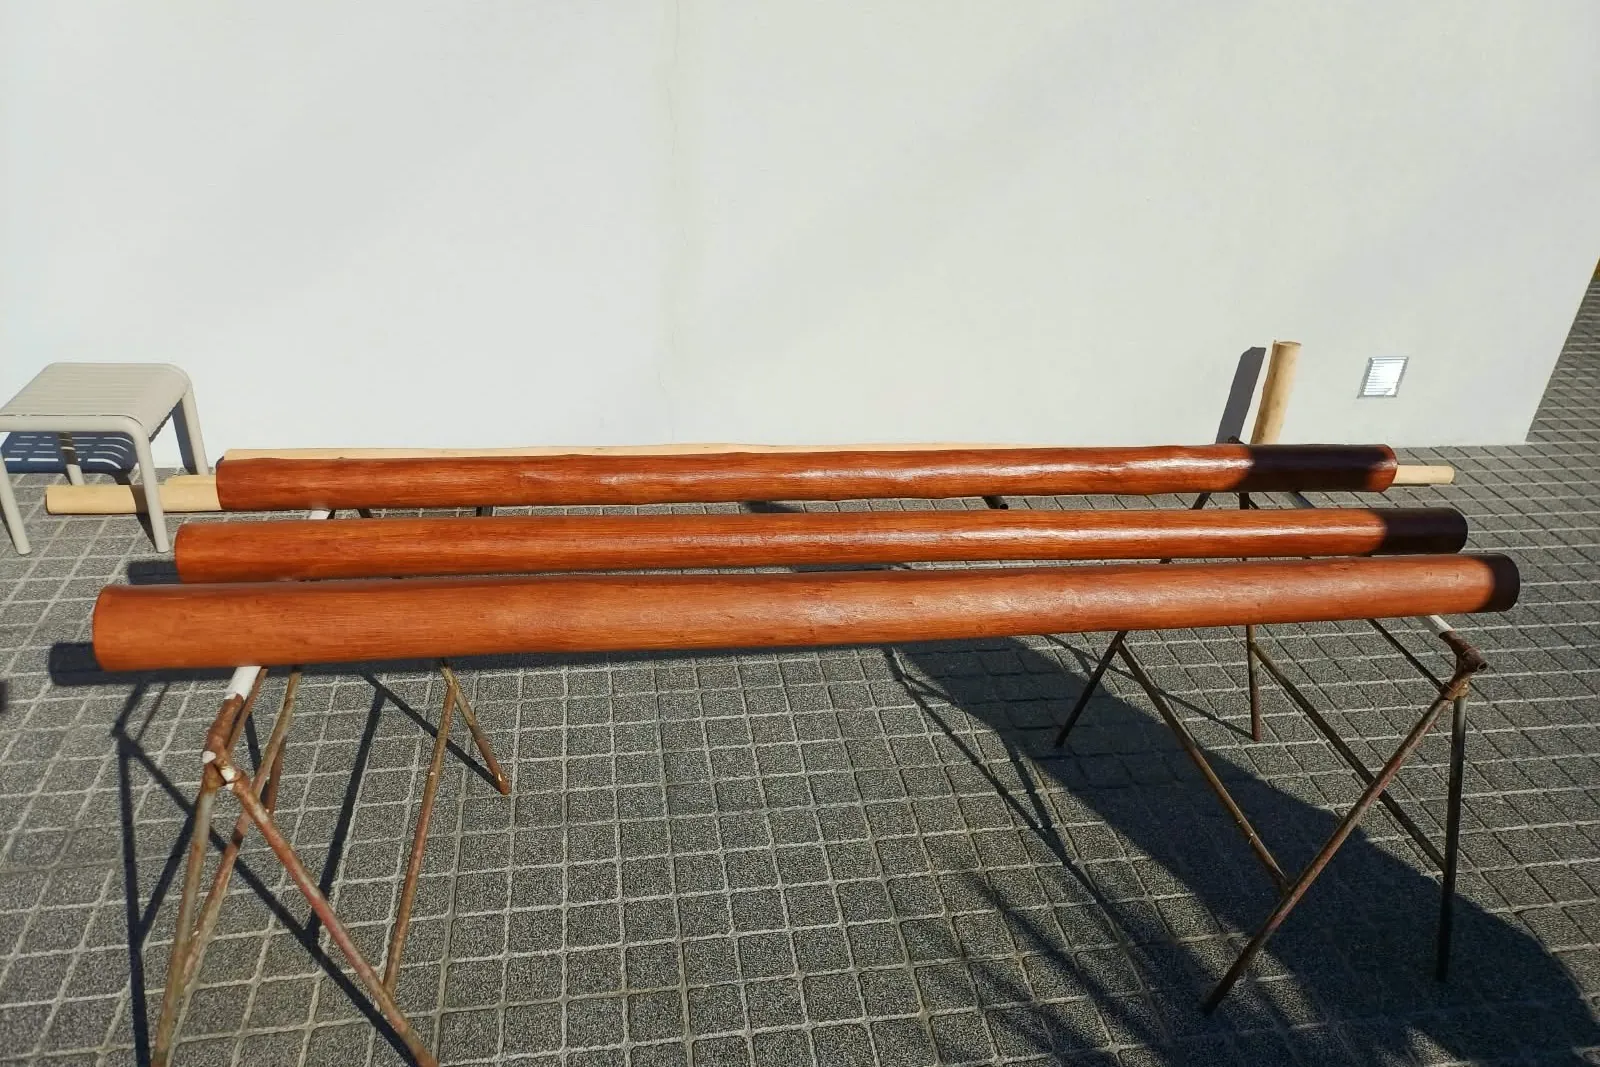
Then came the sanding (used a grinder with an universal grinding disk), and finally, slapping a rich stain on them, I used Parkside's PUR Permanent Wood Stain (Teak color). Look at how they came out drying on the sawhorses—honestly, after all that suffering, seeing that warm reddish-brown grain pop almost made me forgive the trees. Almost.
Step 2: Playing Blacksmith Because Store-Bought Brackets Are Garbage
Now, once you commit to a triangle with round timber posts, you quickly realize you can't just walk into a store and buy post anchors. Every bracket on the market is made for dainty little 4x4 square posts.
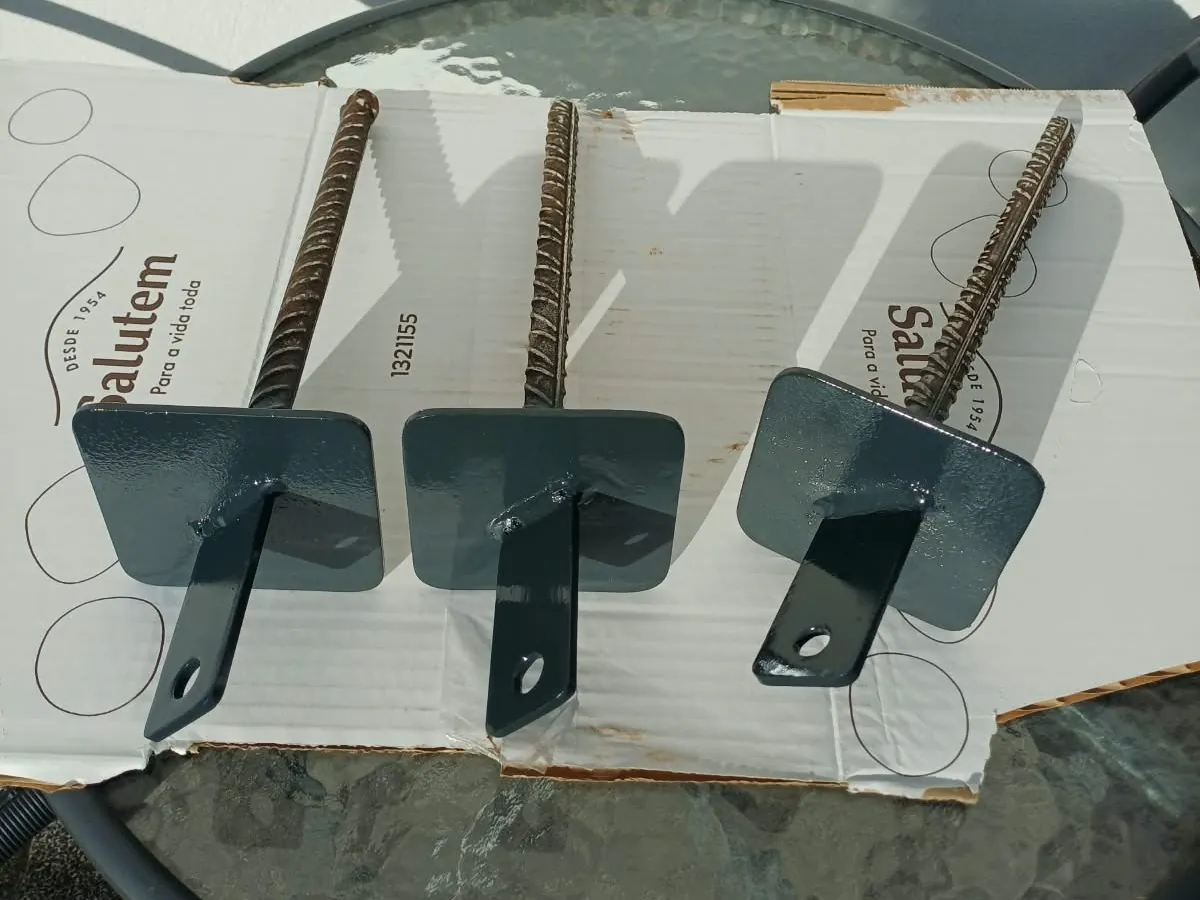
So naturally, I had to become a metal fabricator overnight. I cut three heavy-duty 5mm steel base plates, rounded the corners so nobody slices an ankle open, drilled out the mounting tabs, and welded thick chunks of rebar straight onto the bottoms so they’d bite into concrete and never move until the next ice age. Next I made the slot and hole at the base off the posts for the mounting tabs.
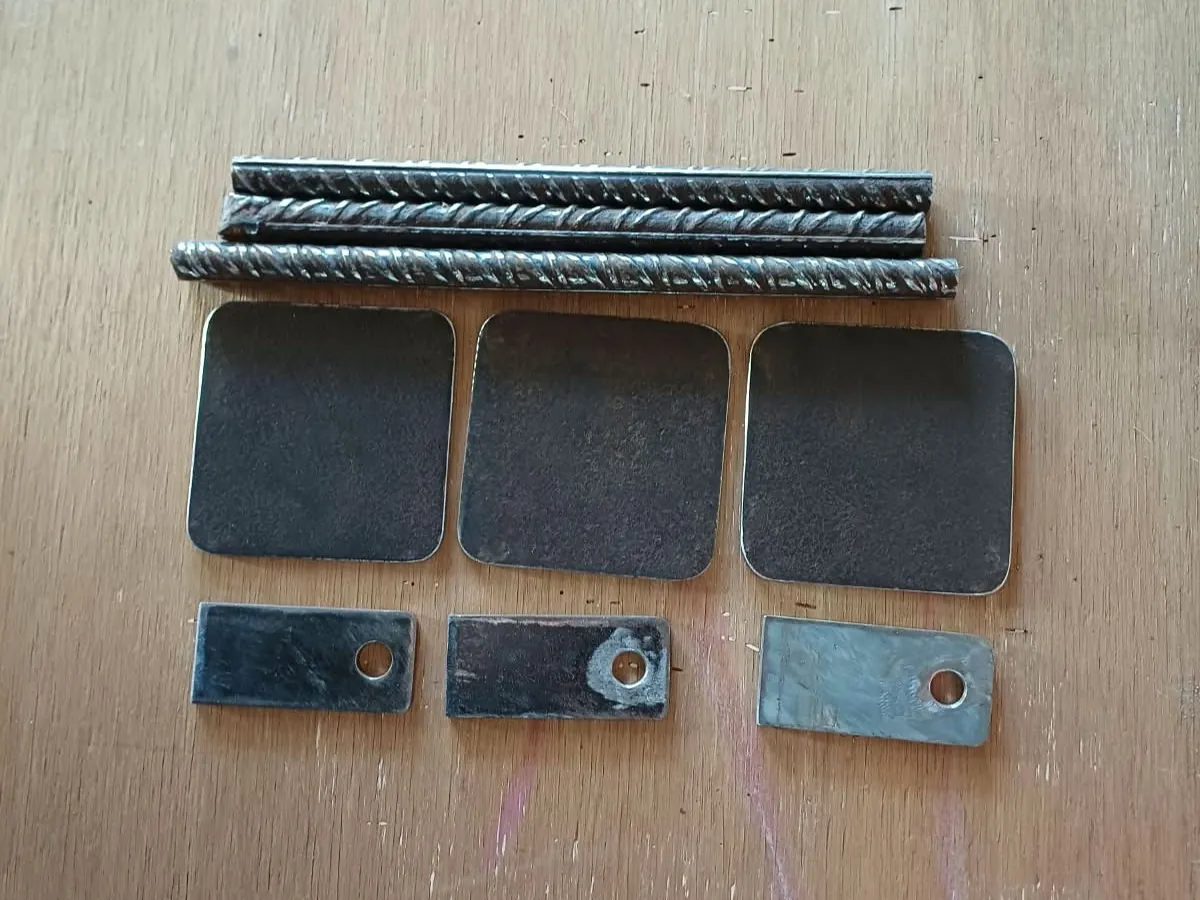
Threw a coat of dark grey protective paint over them, test-fitted the slots into the bottoms of the posts to make sure the bolts lined up, and suddenly I’m looking at hardware that could probably anchor a suspension bridge.
Step 3: Pouring Concrete Like a Guy Who Actually Knows What He's Doing
With the steel ready, it was time to make the footings. I formed up three thick concrete slabs, dropped those rebar-backed custom anchors dead-center into the wet mix, and leveled them out. I used the 1-2-3 rule, 1 part cement, 2 parts river sand and 3 parts nº1 gravel for the concrete mixture.
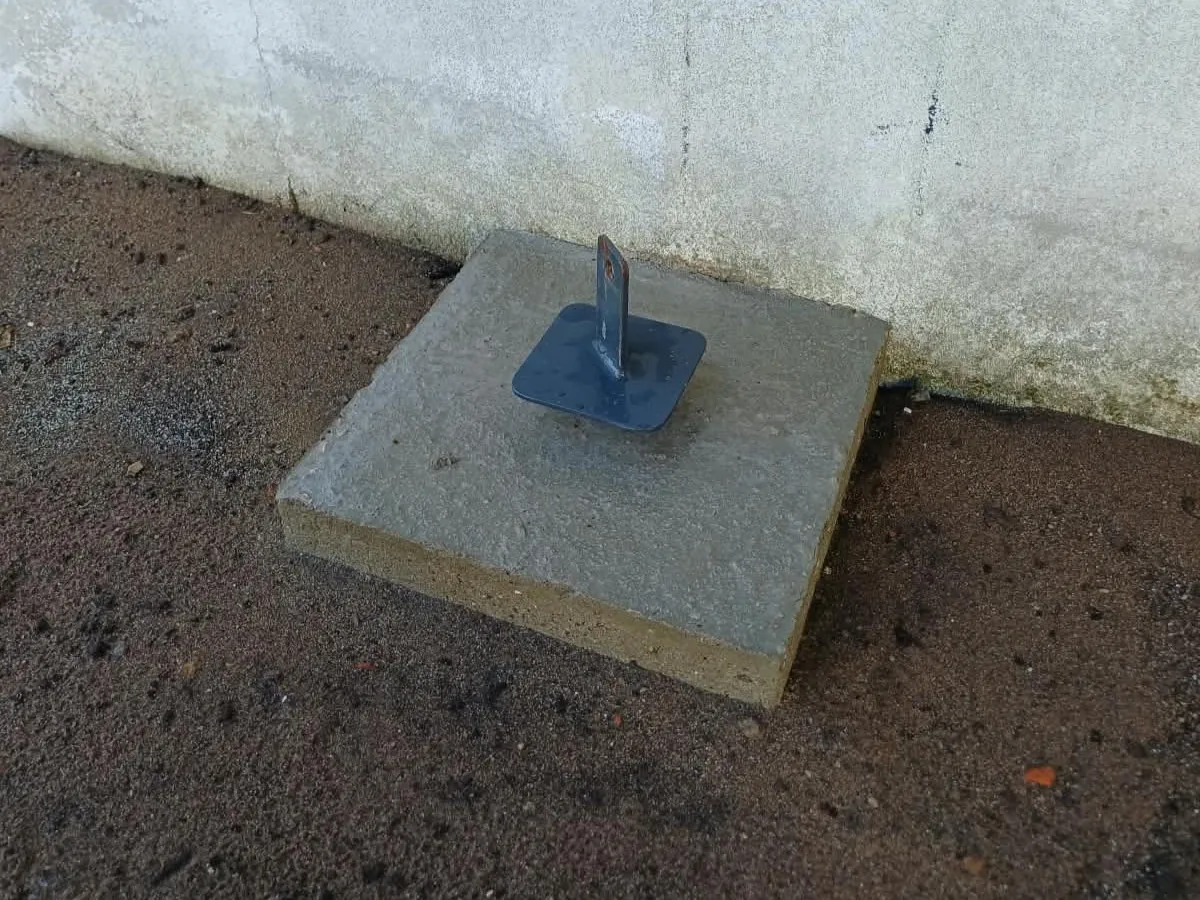
Look at that slab. Clean edges, dead-levelish, heavy enough to survive a hurricane, with that custom steel tab poking right out of the middle waiting for the timber. Leave the plates a bit raised so they don't rust with the water and the posts don't absorb the rain like me drinking beer...
What’s Next?
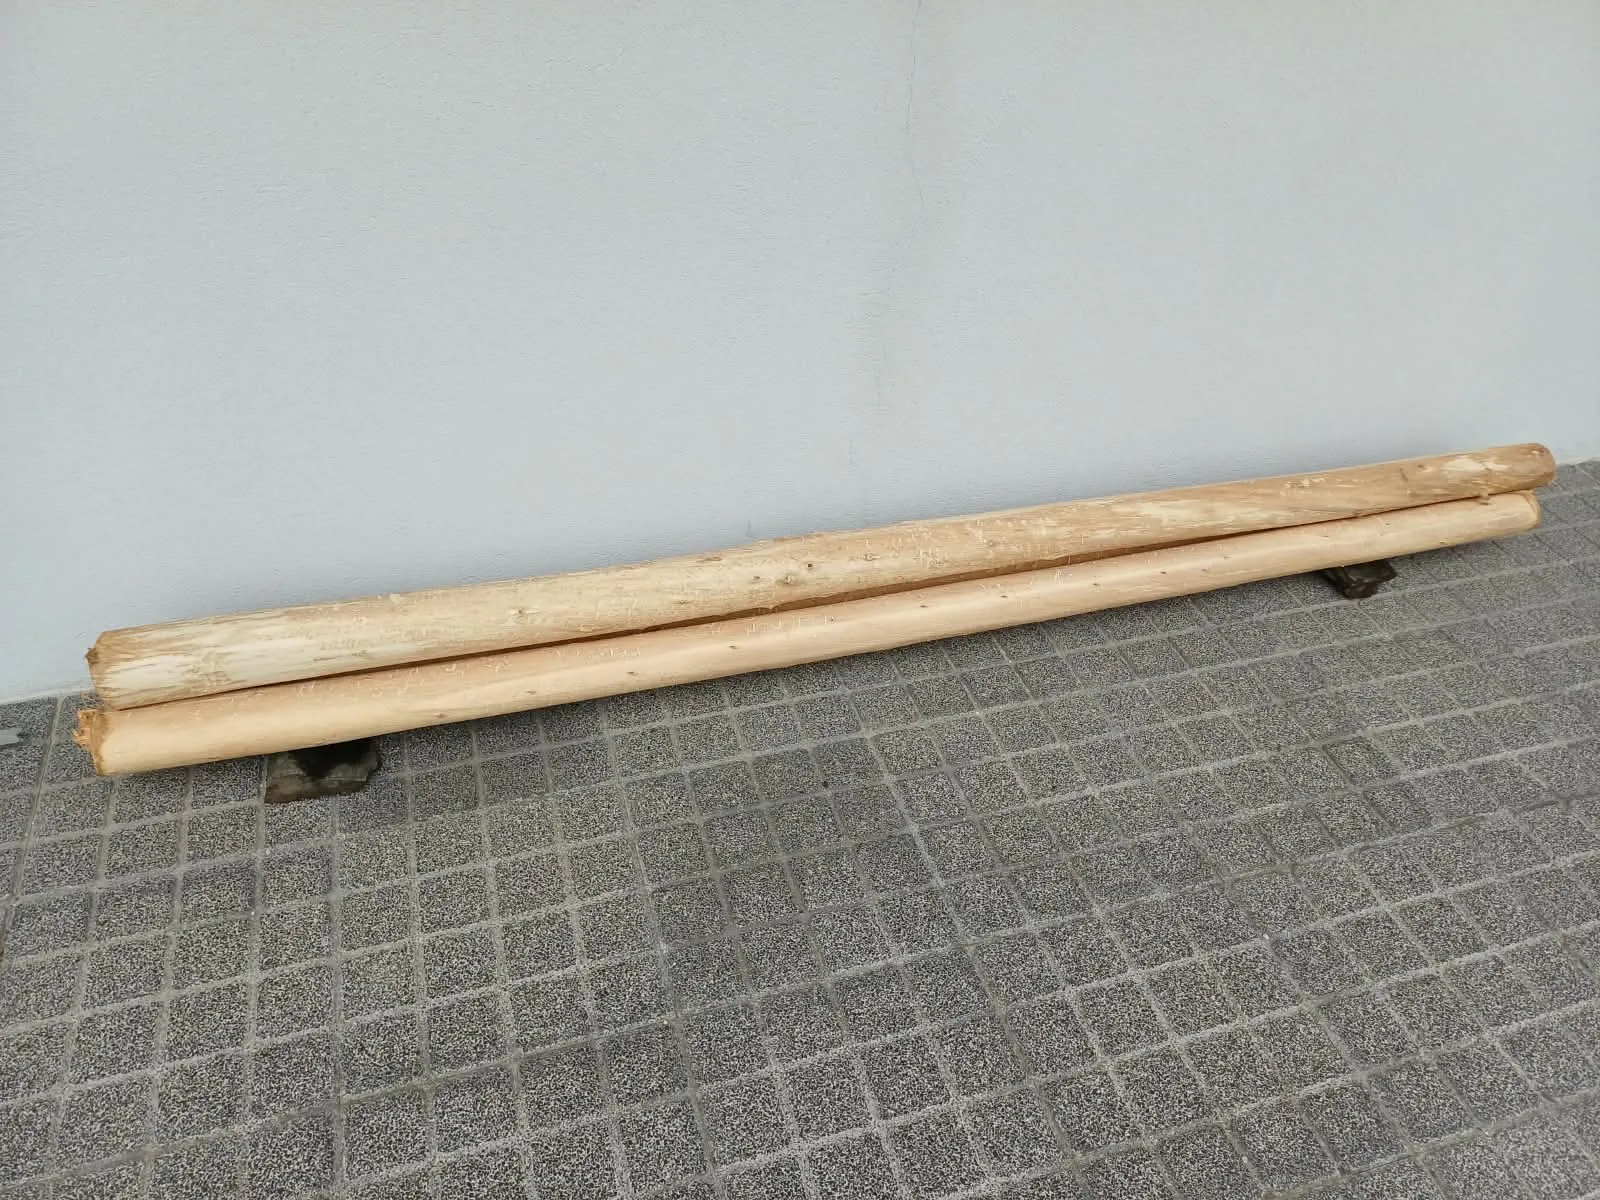
The three main vertical posts are prepped, stained, and ready to bolt onto their concrete thrones. I’ve also got the three top beams debarked and waiting in the wings, though I'm holding off on sanding and staining those until the verticals are standing so I can pull the exact live measurements.
Next up in Part 2: hoisting these heavy bastards up, praying my math actually checks out, and tackling the top framing. Stay tuned—either I’ll have a killer pergola, or I’ll have the world's most over-engineered firewood.
Comments
No comments yet. Be the first to comment!
Leave a comment